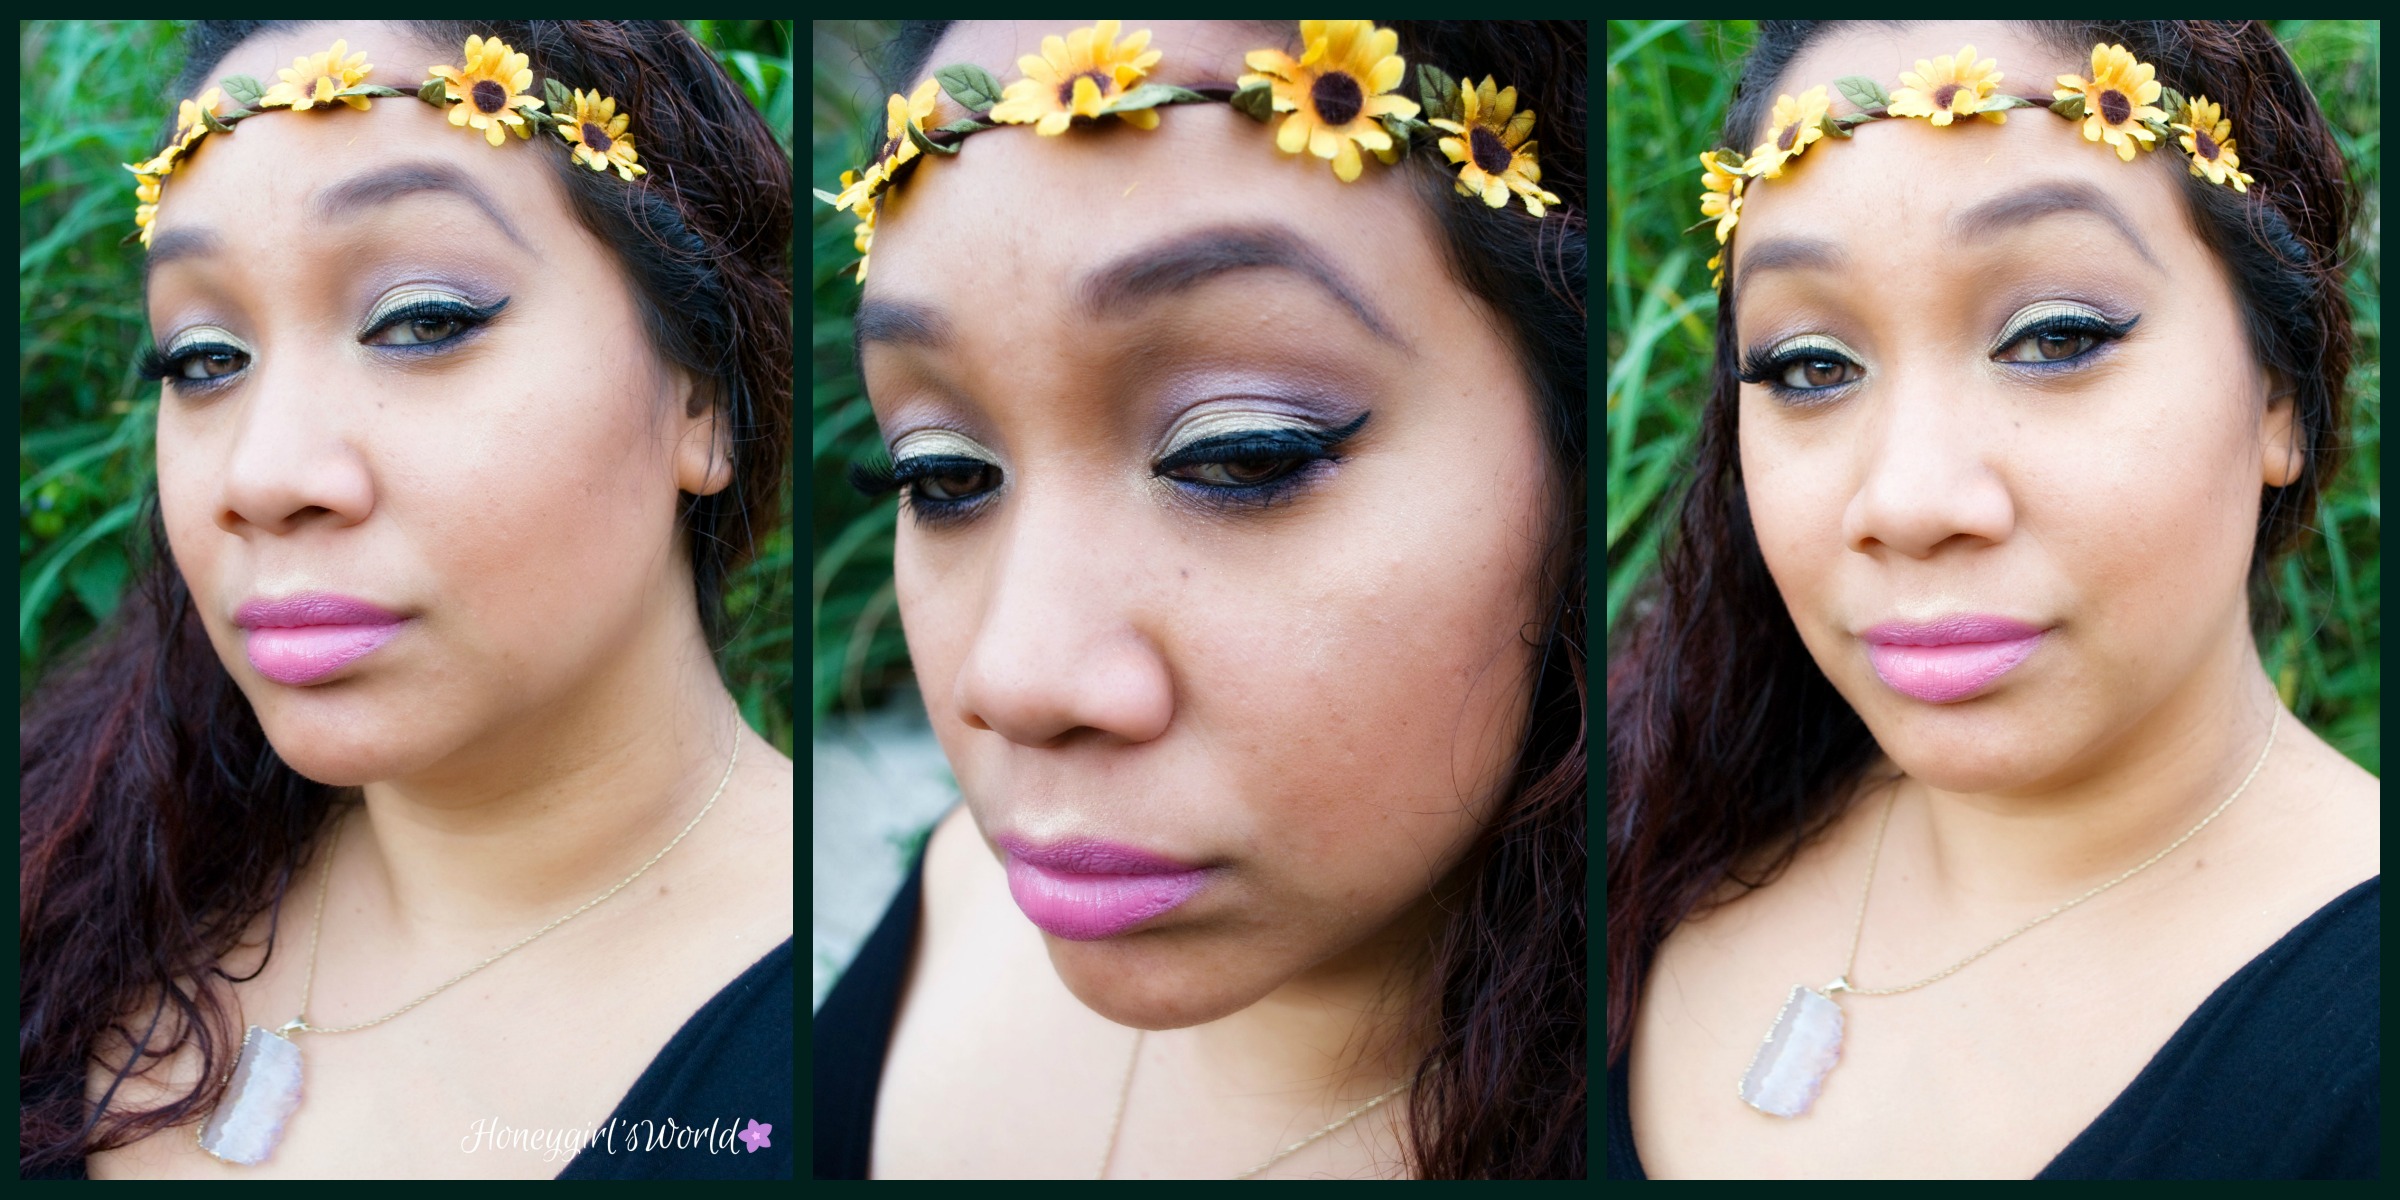
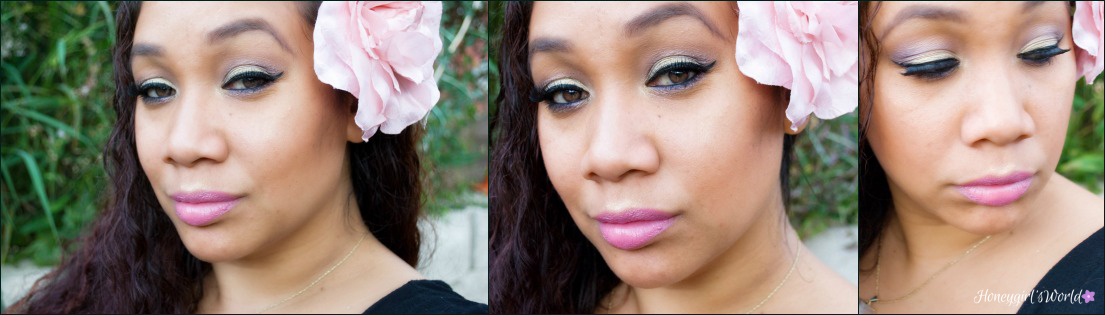
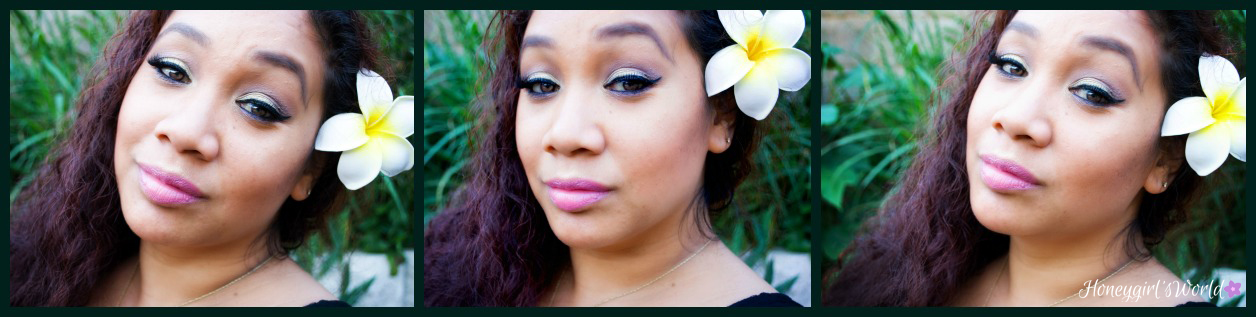
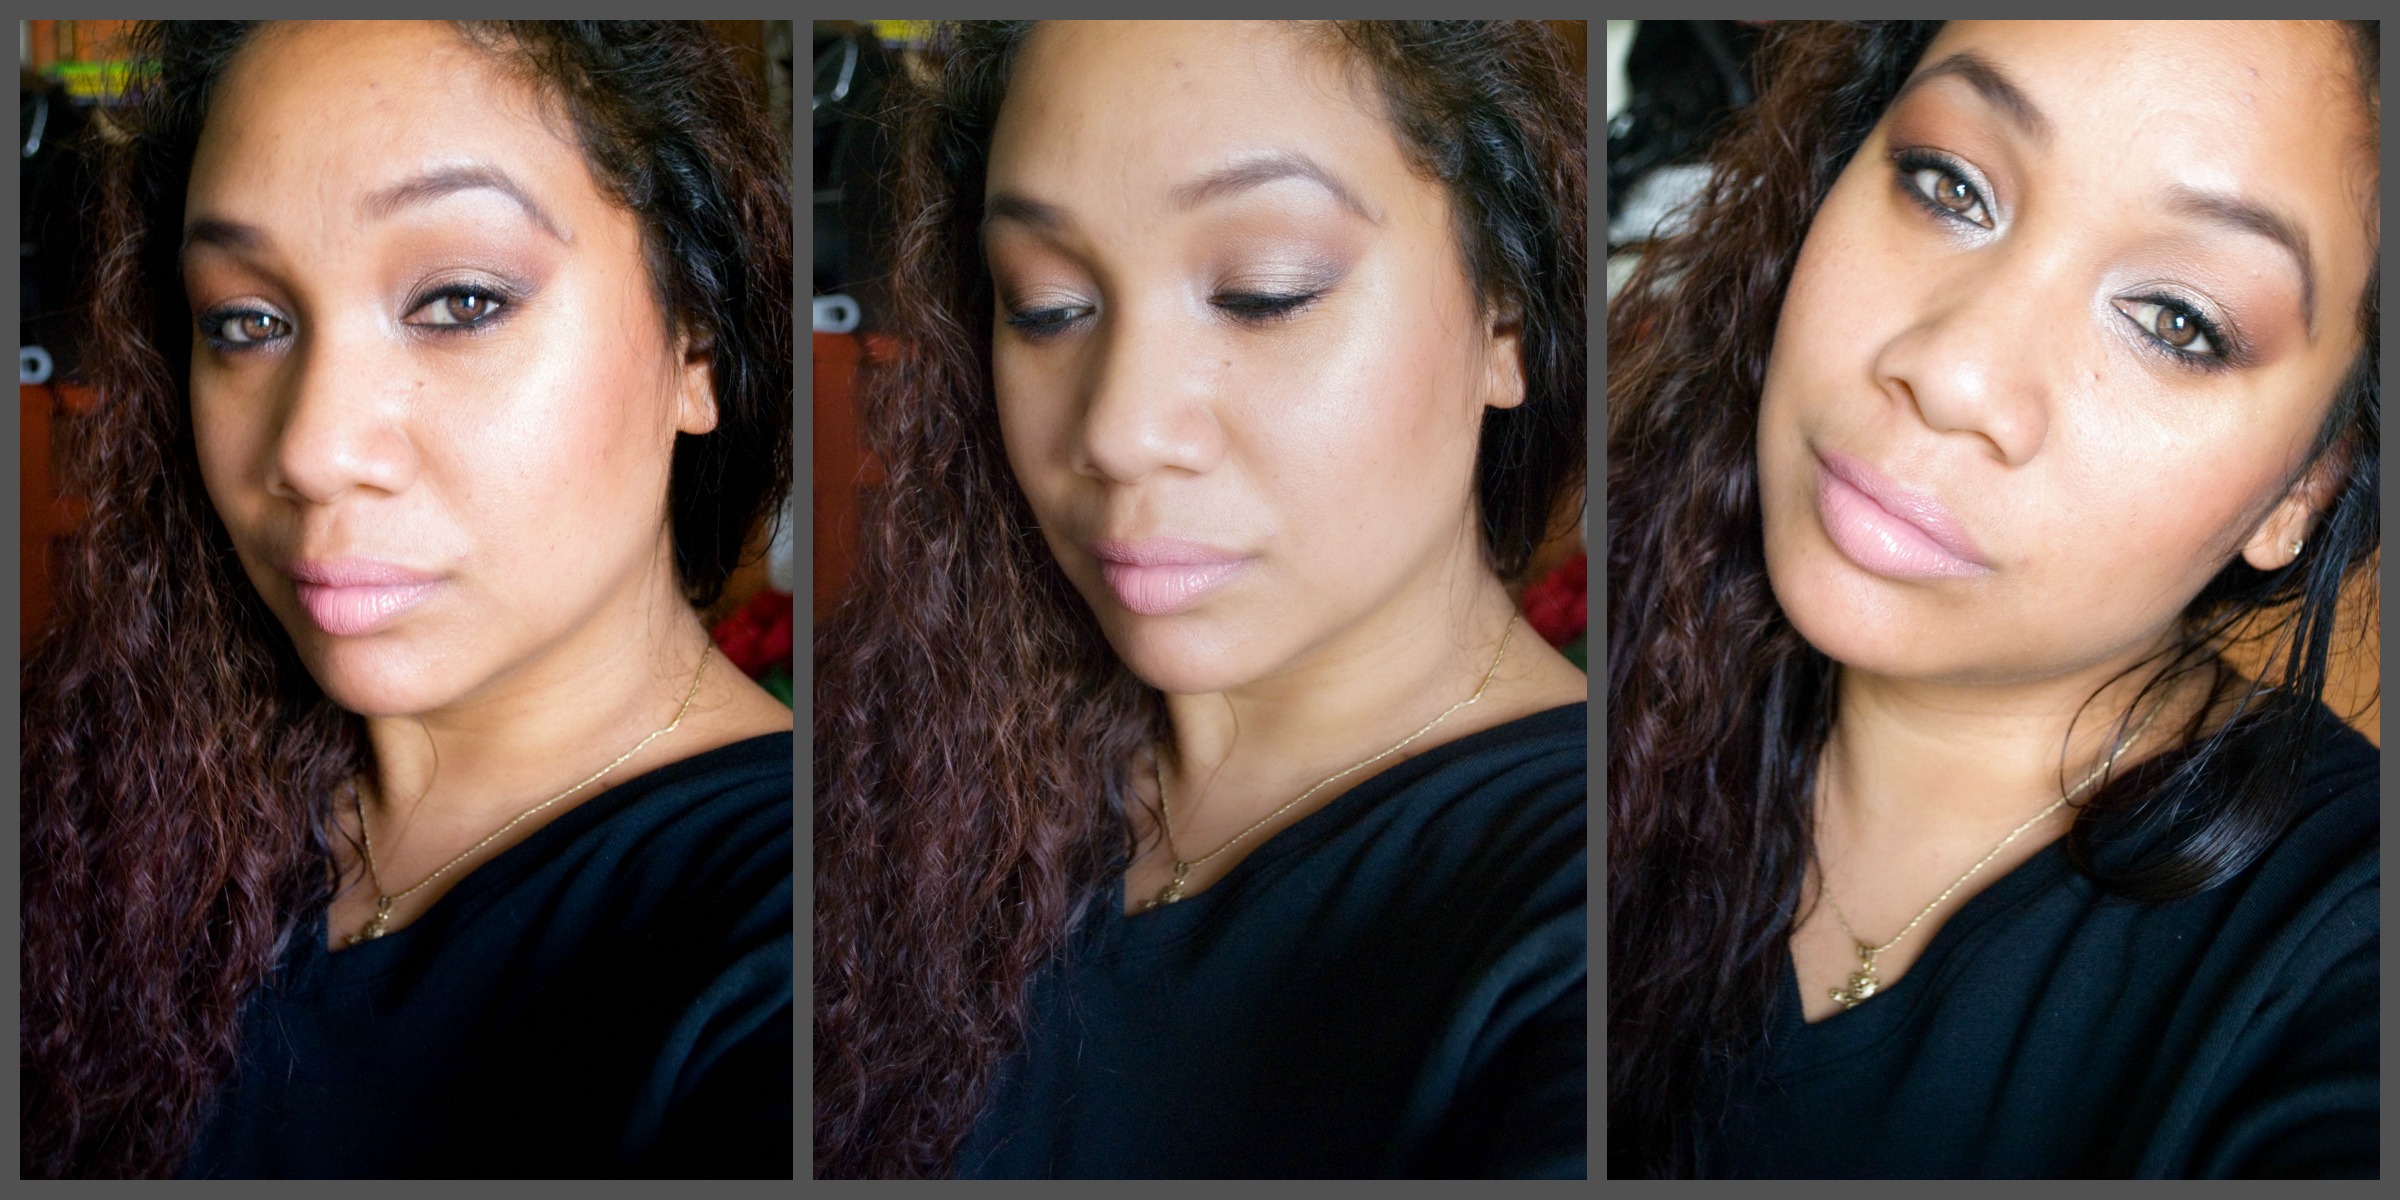
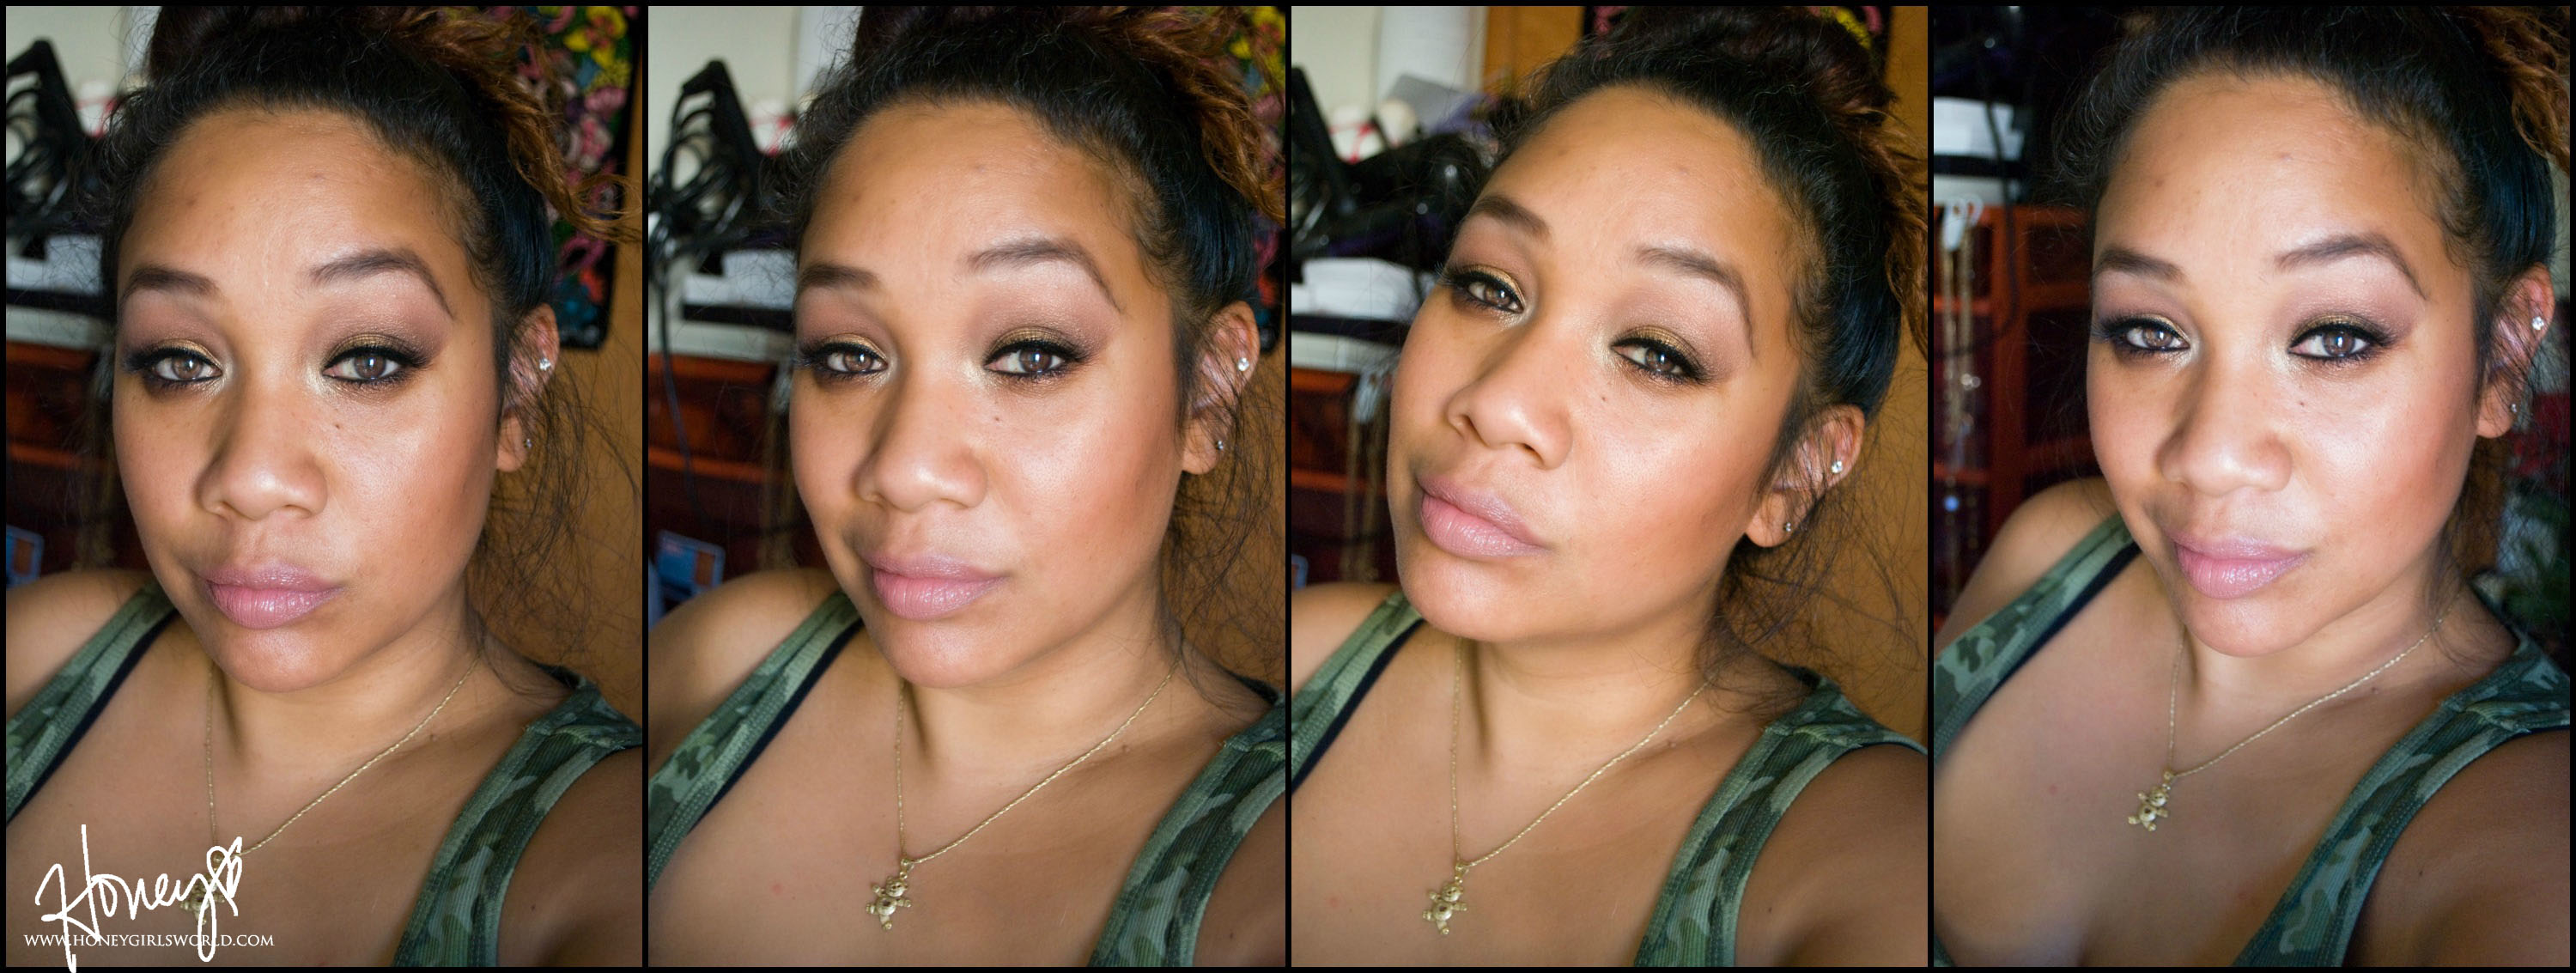
I am absolutely ecstatic that Fall is just about here. I know, I know… I love Summer, but honestly – I look forward to every season as it makes its way and Fall is one of my favorites because I love the makeup and fashion trends. In collaboration with my friend Beth (Pearlznlacebybethk), I am bringing to you another makeup tutorial. This is my first fall inspired makeup tutorial – however, we also decided that we would use Milani’s Bella Navy as a common factor in our makeup looks. She will be creating a Day Time look using the shade as well as other drug store priced items and I have created the Night look. For years now, I’ve been quite fascinated with adding the “Pop of Color” on the lower lash line, but didn’t think about using a dark blue until I seen Kendra from Citizen’s of Beauty post a look. Needless to say, I was inspired by her to use a rich blue as she did (you can see her look here), so I hope that I was able to pull it off. Check out the makeup tutorial I created for this look, pictures and a list of products used below. If you would like to watch the tutorial directly on YouTube, click here.

Products used to create this look
Too Faced Shadow Insurance
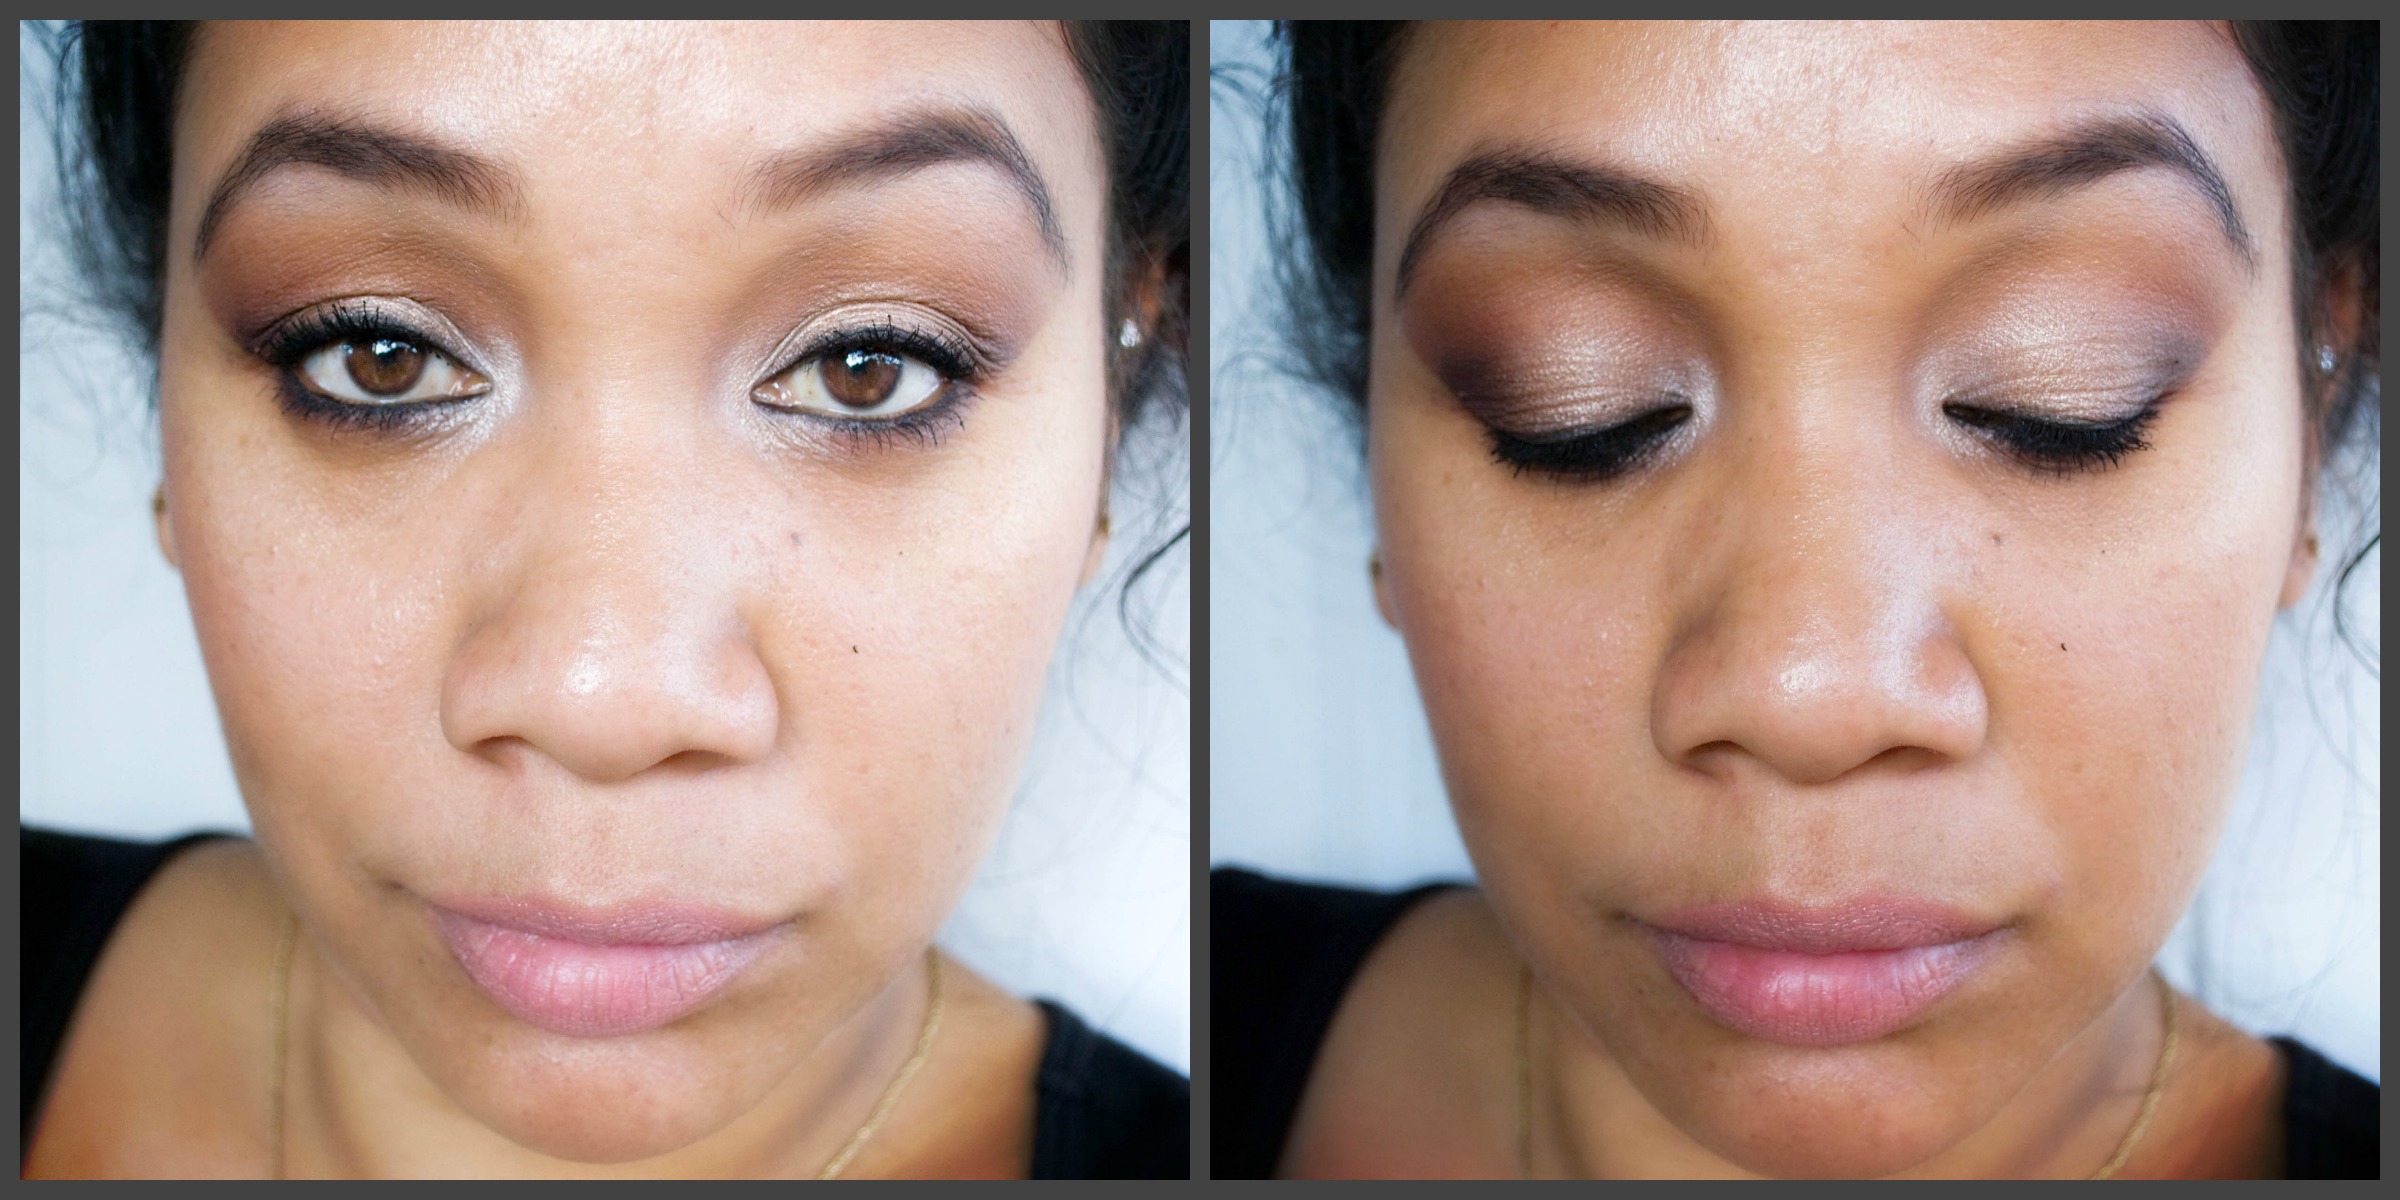
Eye shadows used in the look
- Milani Brow & Eye Highlight – Vanilla
- Milani Bella Cappuccino shadow
- Milani Bella Espresso shadow
- Milani Bella Bronze shadow
- Milani Bella Charcoal shadow
- Milani Bella Ivory shadow
- Milani Bella Navy shadow
- Milani Bella Chiffon shadow
Urban Decay 24/7 Pencil liner in Binge
Jordana Fabuliner in Black
Jordana 12 Hour Made to Last Liquid Eyeliner in Black Point
L’Oreal Voluminous Miss Manga and Too Faced Better Than Sex Mascara
KISS 11 Lashes
Milani Color Statement Lip Liner in All Natural
Milani Color Statement Lipstick in Nude Creme
NYX Butter Gloss in Angel Food Cake

On my face, I used a few products to warm up my complexion as well as blush and highlight but I did not mention it in the video. Those products are:
- Milani Matte Baked Bronzer in Sienna
- Milani Luminoso Baked Blush
- Milani Mosaic Face Powder in Amber Nectar
- On my brows I am using the Milani Brow & Shape Wax and Milani Bella Cappuccino Shadow to color my brows in

As you can see from the tutorial, this look is simple to create but definitely has a statement. I can’t wait to try out the lid shades I used with a purple as my pop of color on the lower lash line. I think that while it can be a bit bold and edgy – it’s still very wearable and can be worn day or night. You can deepen the lid shade and use a black or darker brown to create a more sultry and sexy night look as well.


Hope you enjoyed this look. Don’t forget to head over to Beth’s blog to check out her day look also using Bella Navy from Milani in a different way.


")