Category

Makeup Tutorials

Category

I am all about using products that make life easier.  Let’s be honest here, with technology constantly knocking on our door… don’t we want something that will offer us ease of use?  Would this be the case when it comes to makeup products?  I think so and I certainly welcome what ever is offered up.  Over the last few months I have been playing and having fun with the new Smashbox Always Sharp 3D Liners and I’m not exaggerating when I say I have been having fun. lmao  I literally couldn’t figure out why they were called “Always Sharp” until doing my video review a month ago where everyone learned right along with me. lol  So – without further adieu… on to my Smashbox Always Sharp 3D Liners Review.


Smashbox Always Sharp 3D Liners

Available in 8 different colors, these liners retail for $20 (.009oz/0.27g) and offer a reflective glittery type look without all the fall out of actual glitter.  They are comfortable to wear on the eyes, apply smoothly like a kohl liner and offer great pigmentation.  I am also surprised by the wear I got out of the product because it offers great longevity through the day.  The metallic/shimmer finish stuck around for hours and the color lasted on my lower and upper lash line and waterline with minimal budging and no raccoon eyes.  These stay put really well and I contribute the small smudges to the fact that I naturally have watery eyes.  This is not your teeny-bopper eyeliner… while there is shimmer and sparkle, I like that it is more enhancing your eye look or your eyes than making you look like you are wearing a ton of glitter liner which is something I enjoyed the most.

So what makes these so unique?  Well, inspired by Smashbox Pros that consistently sharpen their pencils prior to using them, this pencil was designed to be the first of its kind to have a sharpener built right into its cap.  Ditch your sharpener because you will not need it for this pencil.  Each time you remove your cap – you get a nice sharp tip to create your look with.  I don’t have to twist up the bottom of the pencil or anything like that – I simply twist the cap off (make sure you twist, I almost broke the pencil several times by yanking) and you will expose a sharpened tip.  It’s magic – I swear! lol

Check out my quick video review (embedded below) as well as a demo of the product.  Looking for a laugh – tune in to the part where I figure out how the liners actually work, lol.  Click here to watch directly on YouTube.

Be My Valentine - Valentine's Day Makeup Tutorial

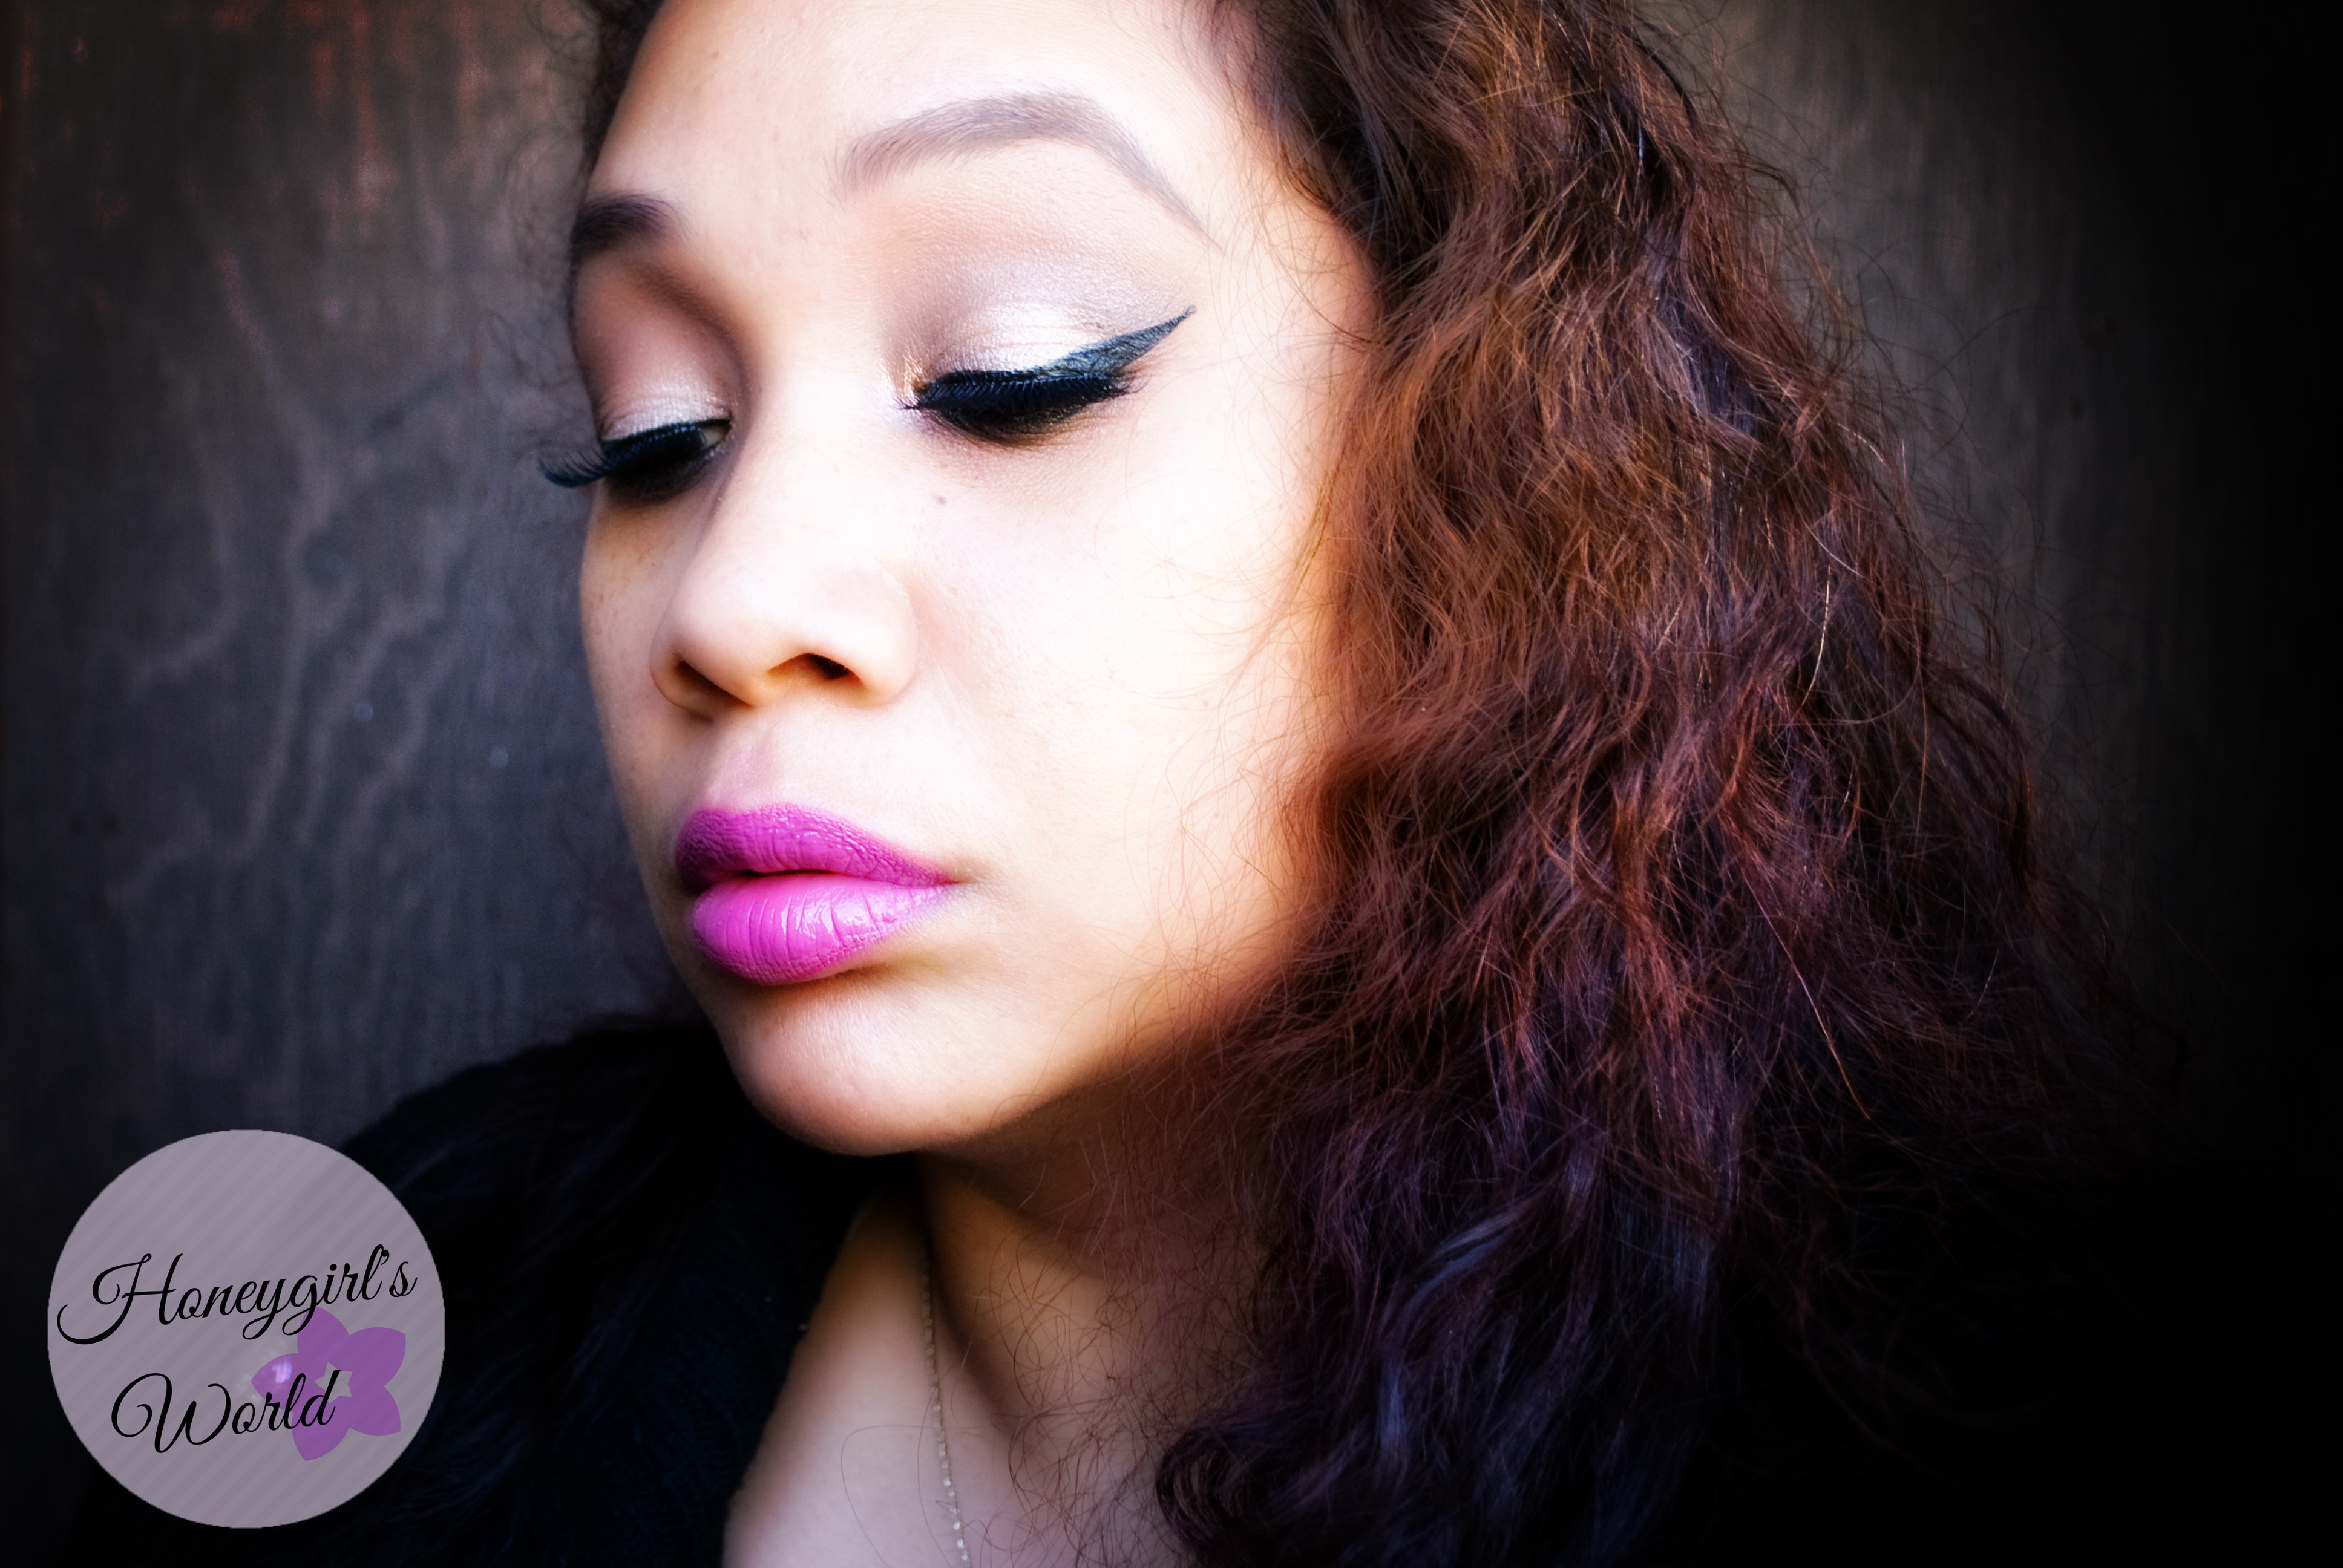
In the makeup look above (tutorial can be found here), I am using Smashbox’s Always Sharp 3D Liner in 3D Sparks on my lower lash line.  What I enjoy about these liners is that they are not super shimmery, but offer just the right amount of sparkle to draw attention to the eyes and in my opinion even brightening the look of the eyes just a little so it offers a subtle but dramatic effect.

Any Cons?

So – while I do enjoy using this product, there are a few cons to it.  First of all – it is a habit for me to twist a cap back on to the pencil when I’m covering it and I noticed that I can twist too many times when putting my cap back on – which can cause the cap to crack.  Second, there is no way for you to tell how much product you have left so it can be a disappointment when you reach the end of your liner and realize that nothing is left and you have to pick up a new one.  And, third – one of my pencils broke because I pushed on it too hard and it was near to impossible to get my tip sharpened again or to twist it up so that it would meet up with the sharpener for me to use it.  I don’t know what I did but I finally got the pencil to expose itself again and I was able to use my liner.

Overall – I’m still super impressed with these liners.  They have great staying power, they can smudge but for the most part they stayed in place for hours and I love the sparkle.  The concept of the pencil is great – I just wish that there was an option to be able to twist the pencil up should it break or if you need to see how much product you have left in it.  If there is a way to do so – please let me know.  I think the price point is okay, considering it is a Smashbox product.

You can purchase these four colors mentioned as well as the other four colors available at Smashbox.com, Sephora.com or Ulta.com.

Have you tried this eye liner?  If you have – what are your thoughts?  If you haven’t, would you consider it?

blog signature honey copy


I get asked often… “How do you do a smoky eye that is easy but also doesn’t make me look like I punched myself in the eyes?”  Honestly, a smoky eye is quite easy and does not have to be the black eye shadow people are so used to associating with the look.  I create smoky eyes in a variety of shades – my favorites being purple and brown.  The definition of a smoky eye is just that it must be well blended shadows creating the look of well blended eye makeup – no harsh lines.

Easy Smoky eye - Tarte be MATTEnificent

For the look I created, I wanted to utilize one of my favorite palettes – the Tarte be MATTEnificent Palette.  I am not going to lie – I am a matte eye shadow junkie and I will pull for a matte palette in my collection over one with only shimmer shades.  At 34 years old, I try to use colors and shadow textures that will not settle into my fine lines or make me look too “frosty”.  For this look – I utilized a 3 step system that I like to do for an eye look that will get me in and out of the house in a hurry (busy mommy status):

  • Step one – (after priming your eyelid) was a neutral toned shade (usually a cream matte shade) all over the lid and up to the brow bone.  I call this the transition blending shade.
  • Step two – take a shade you want to wear on your lid (in my case it was a plum purple) and with the same brush you used to apply your transition blending shade, apply the color all over your lid and into the crease – do not go above the crease.  Take this same color and run it on the lower lash line making sure to blend the line so it looks soft and diffused.
  • Step three – take a shade you would like to wear in the crease – I normally opt for a taupe or brown shade.  Take a blending brush and work this color into your crease blending it out so that there are no harsh lines.

If you want – you can always reapply your brow bone high light shade to create more definition but make sure that you blend well.

That is it.  You can add your favorite eye liner, mascara and you’re good to go.  Check out my Get Ready With Me Video (embedded below) for a full run down on the eye makeup as well as how I contour, highlight and add blush.  I talk through the process so it is a little longer than it actually is to create the look.  If you want to watch the video on YouTube – click here.

If you enjoyed my video – please Subscribe, Comment & Like!

Easy Smoky Eye - Tarte be Mattenificent

Products used:

Moisturizer – Organic Unrefined Virgin Coconut Oil, Tilth Beauty Anti Aging Firming Moisture Cream & PRAI Radiant Gemstone Cream

Brows – Perfekt Beauty Brow Perfection Gel

Eye Primer – Too Faced Shadow Insurance

Eye shadow – Tarte be MATTEnificent Palette

  • all over the lid from lash line to brow bone = sand out from the crowd (lid and highlight shade)
  • lid into the crease = two plums up
  • crease shade = rose to the occasion

Liner – Tarte Smolder Eyes in Brown (lower lash line / waterline and upper lash line) and Mally Evercolor Starlight Waterproof liner in Midnight (tight line & water line)

Lashes – KISS Lashes in 01 and Perfekt Beauty Mascara in Flash

Bronzer – NYC Sunny

Blush – MAC Sunbasque

Highlight – Laura Geller Baked Highlighter Duo French Vanilla / Golden Rose

Lips – Milani Color Statement Lip Liner in Nude and Revlon Lip Butter in Pink Lemonade

Easy Smoky Eye using Tarte be MATTEnificent

I styled this look with a basic black top and a pair of khaki shorts (of course, not seen).  For my hair, I decided to leave it down and placed a cute daisy flower halo on my head.  I just love these halos/crowns… I love them for Spring.  The photo(s) below was taken using my phone (unedited / no filter).  I figured I would share that with you so you could see a photo of the look a little further away then the others.

Easy smoky eye look

I hope you guys enjoyed this week’s look.  I have so many ideas for Spring & Summer inspired makeup looks, so if I can find the time to create them for you or I’m heading out and want to rock them out – I’ll surely share them.  Thanks so much for reading (and watching).

Check out my last makeup look and tutorial here.

blog signature honey copy

Jennifer Lopez Same Girl Music Video Makeup

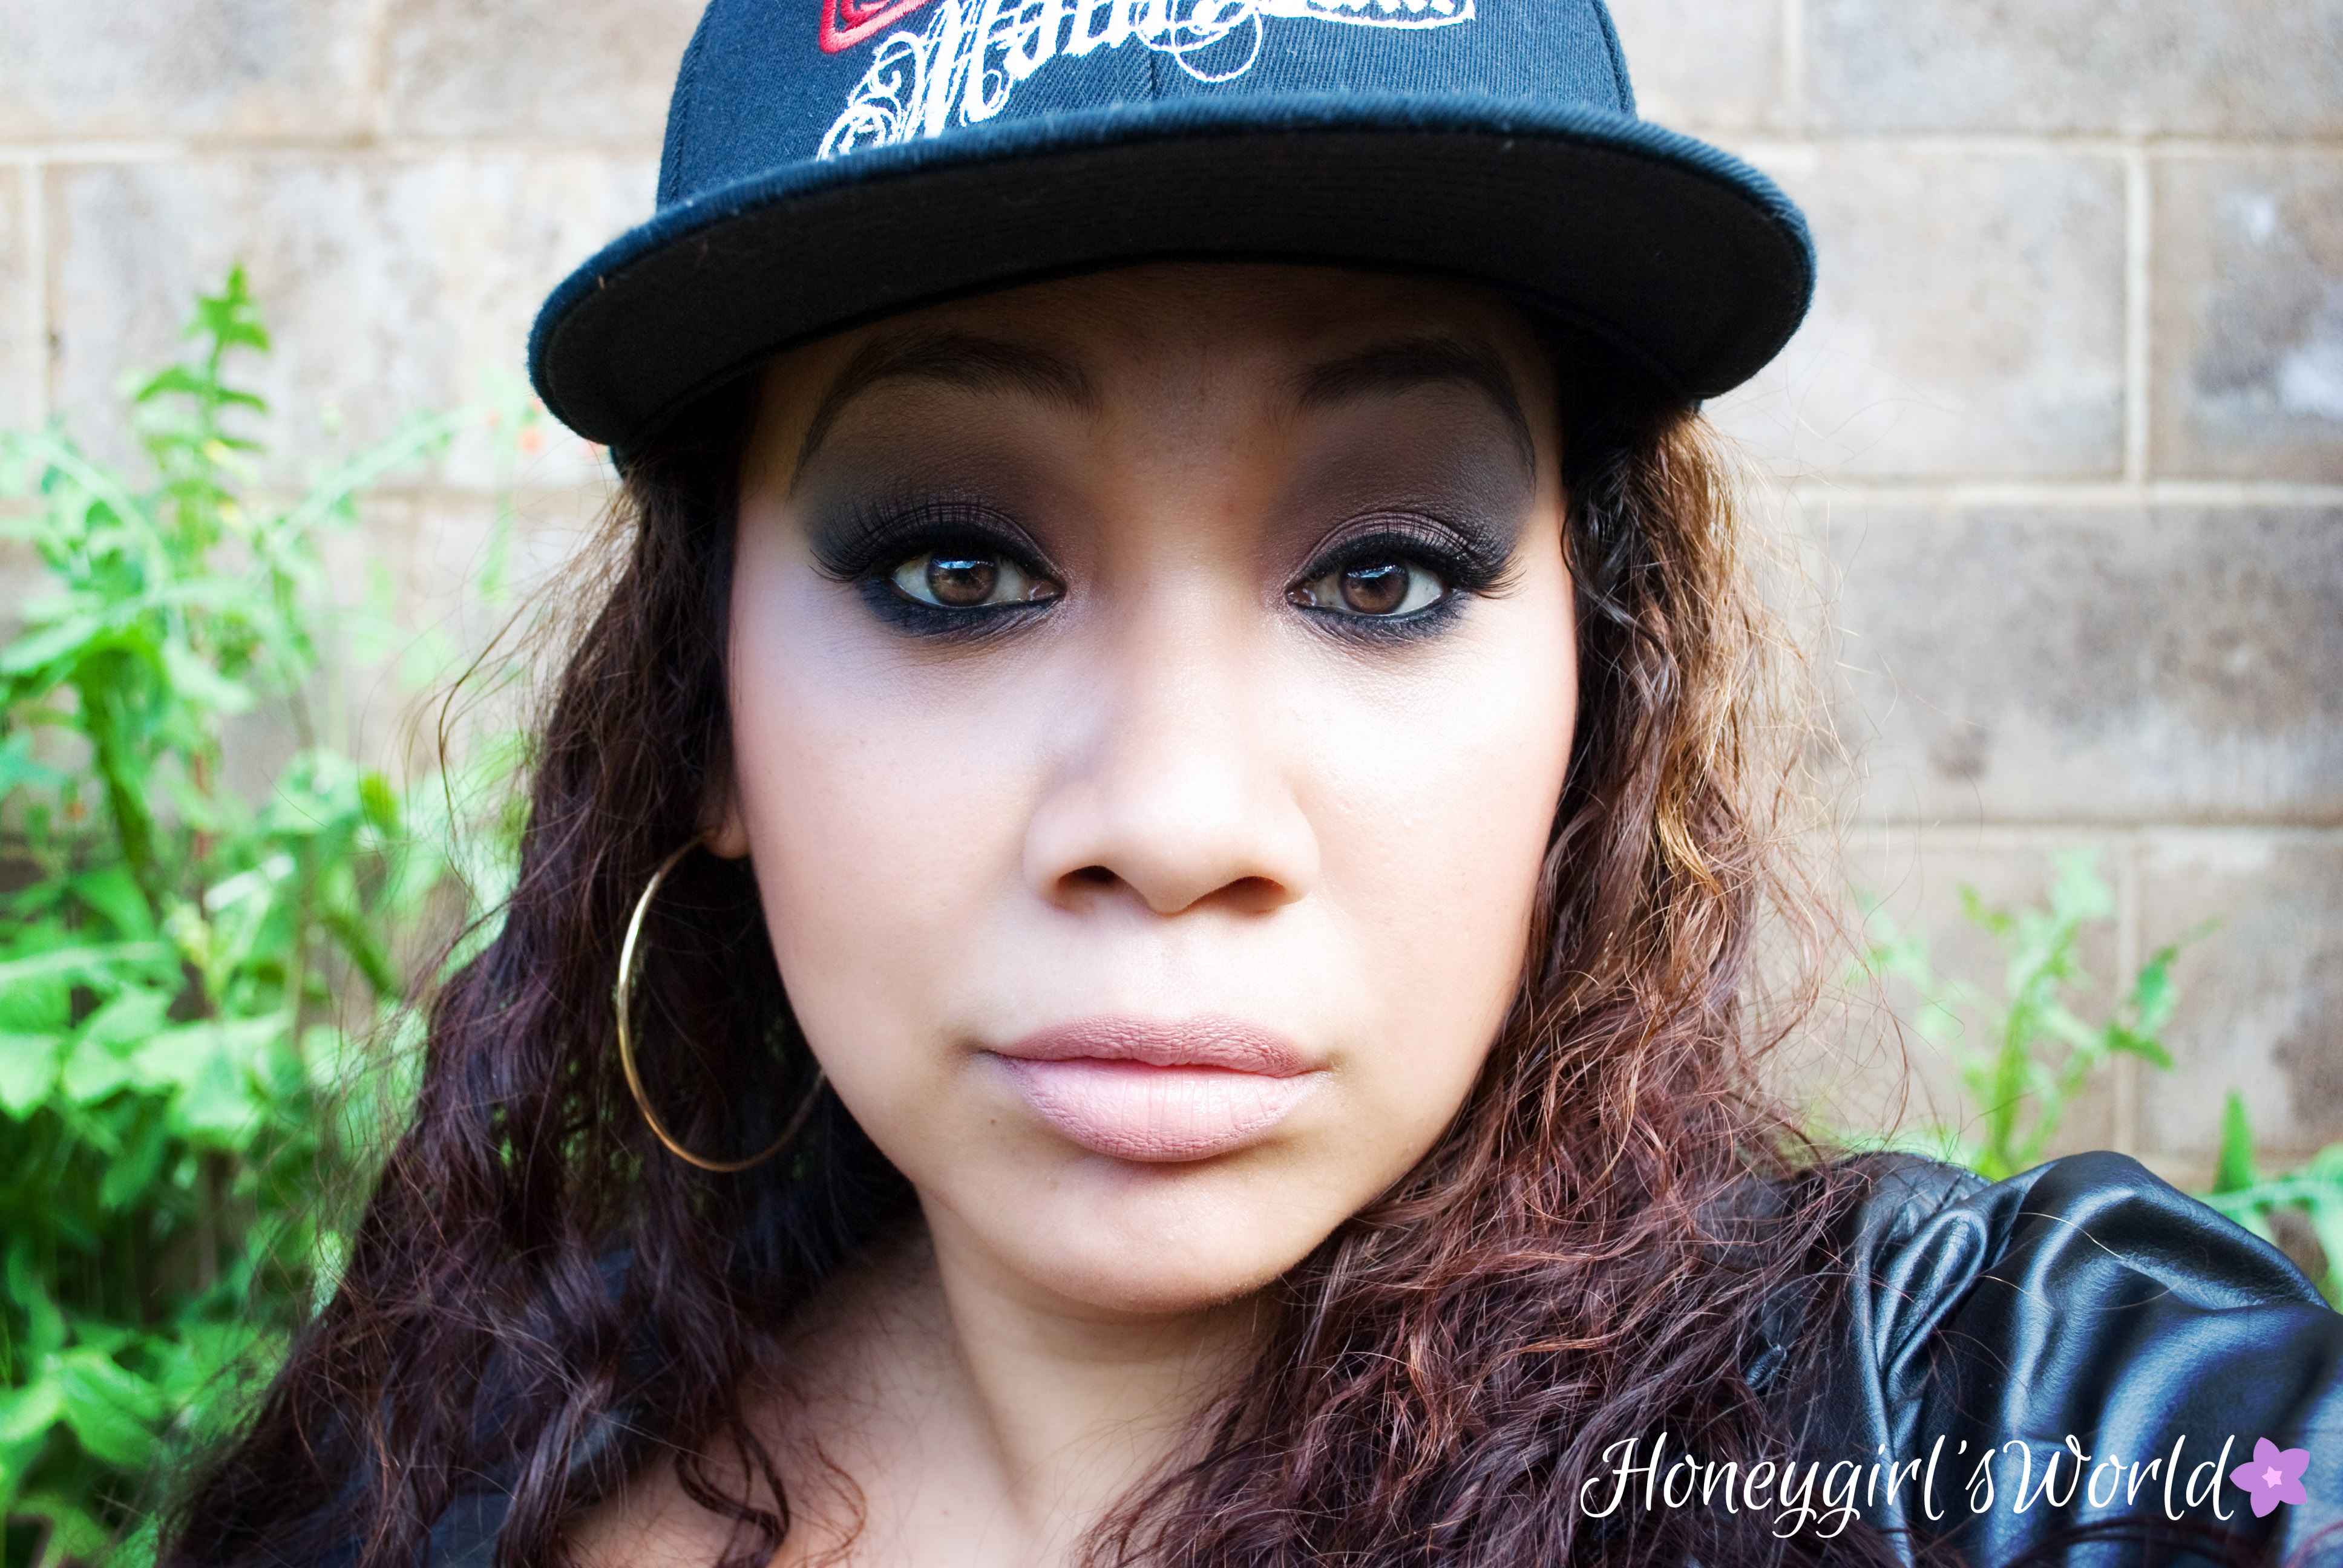
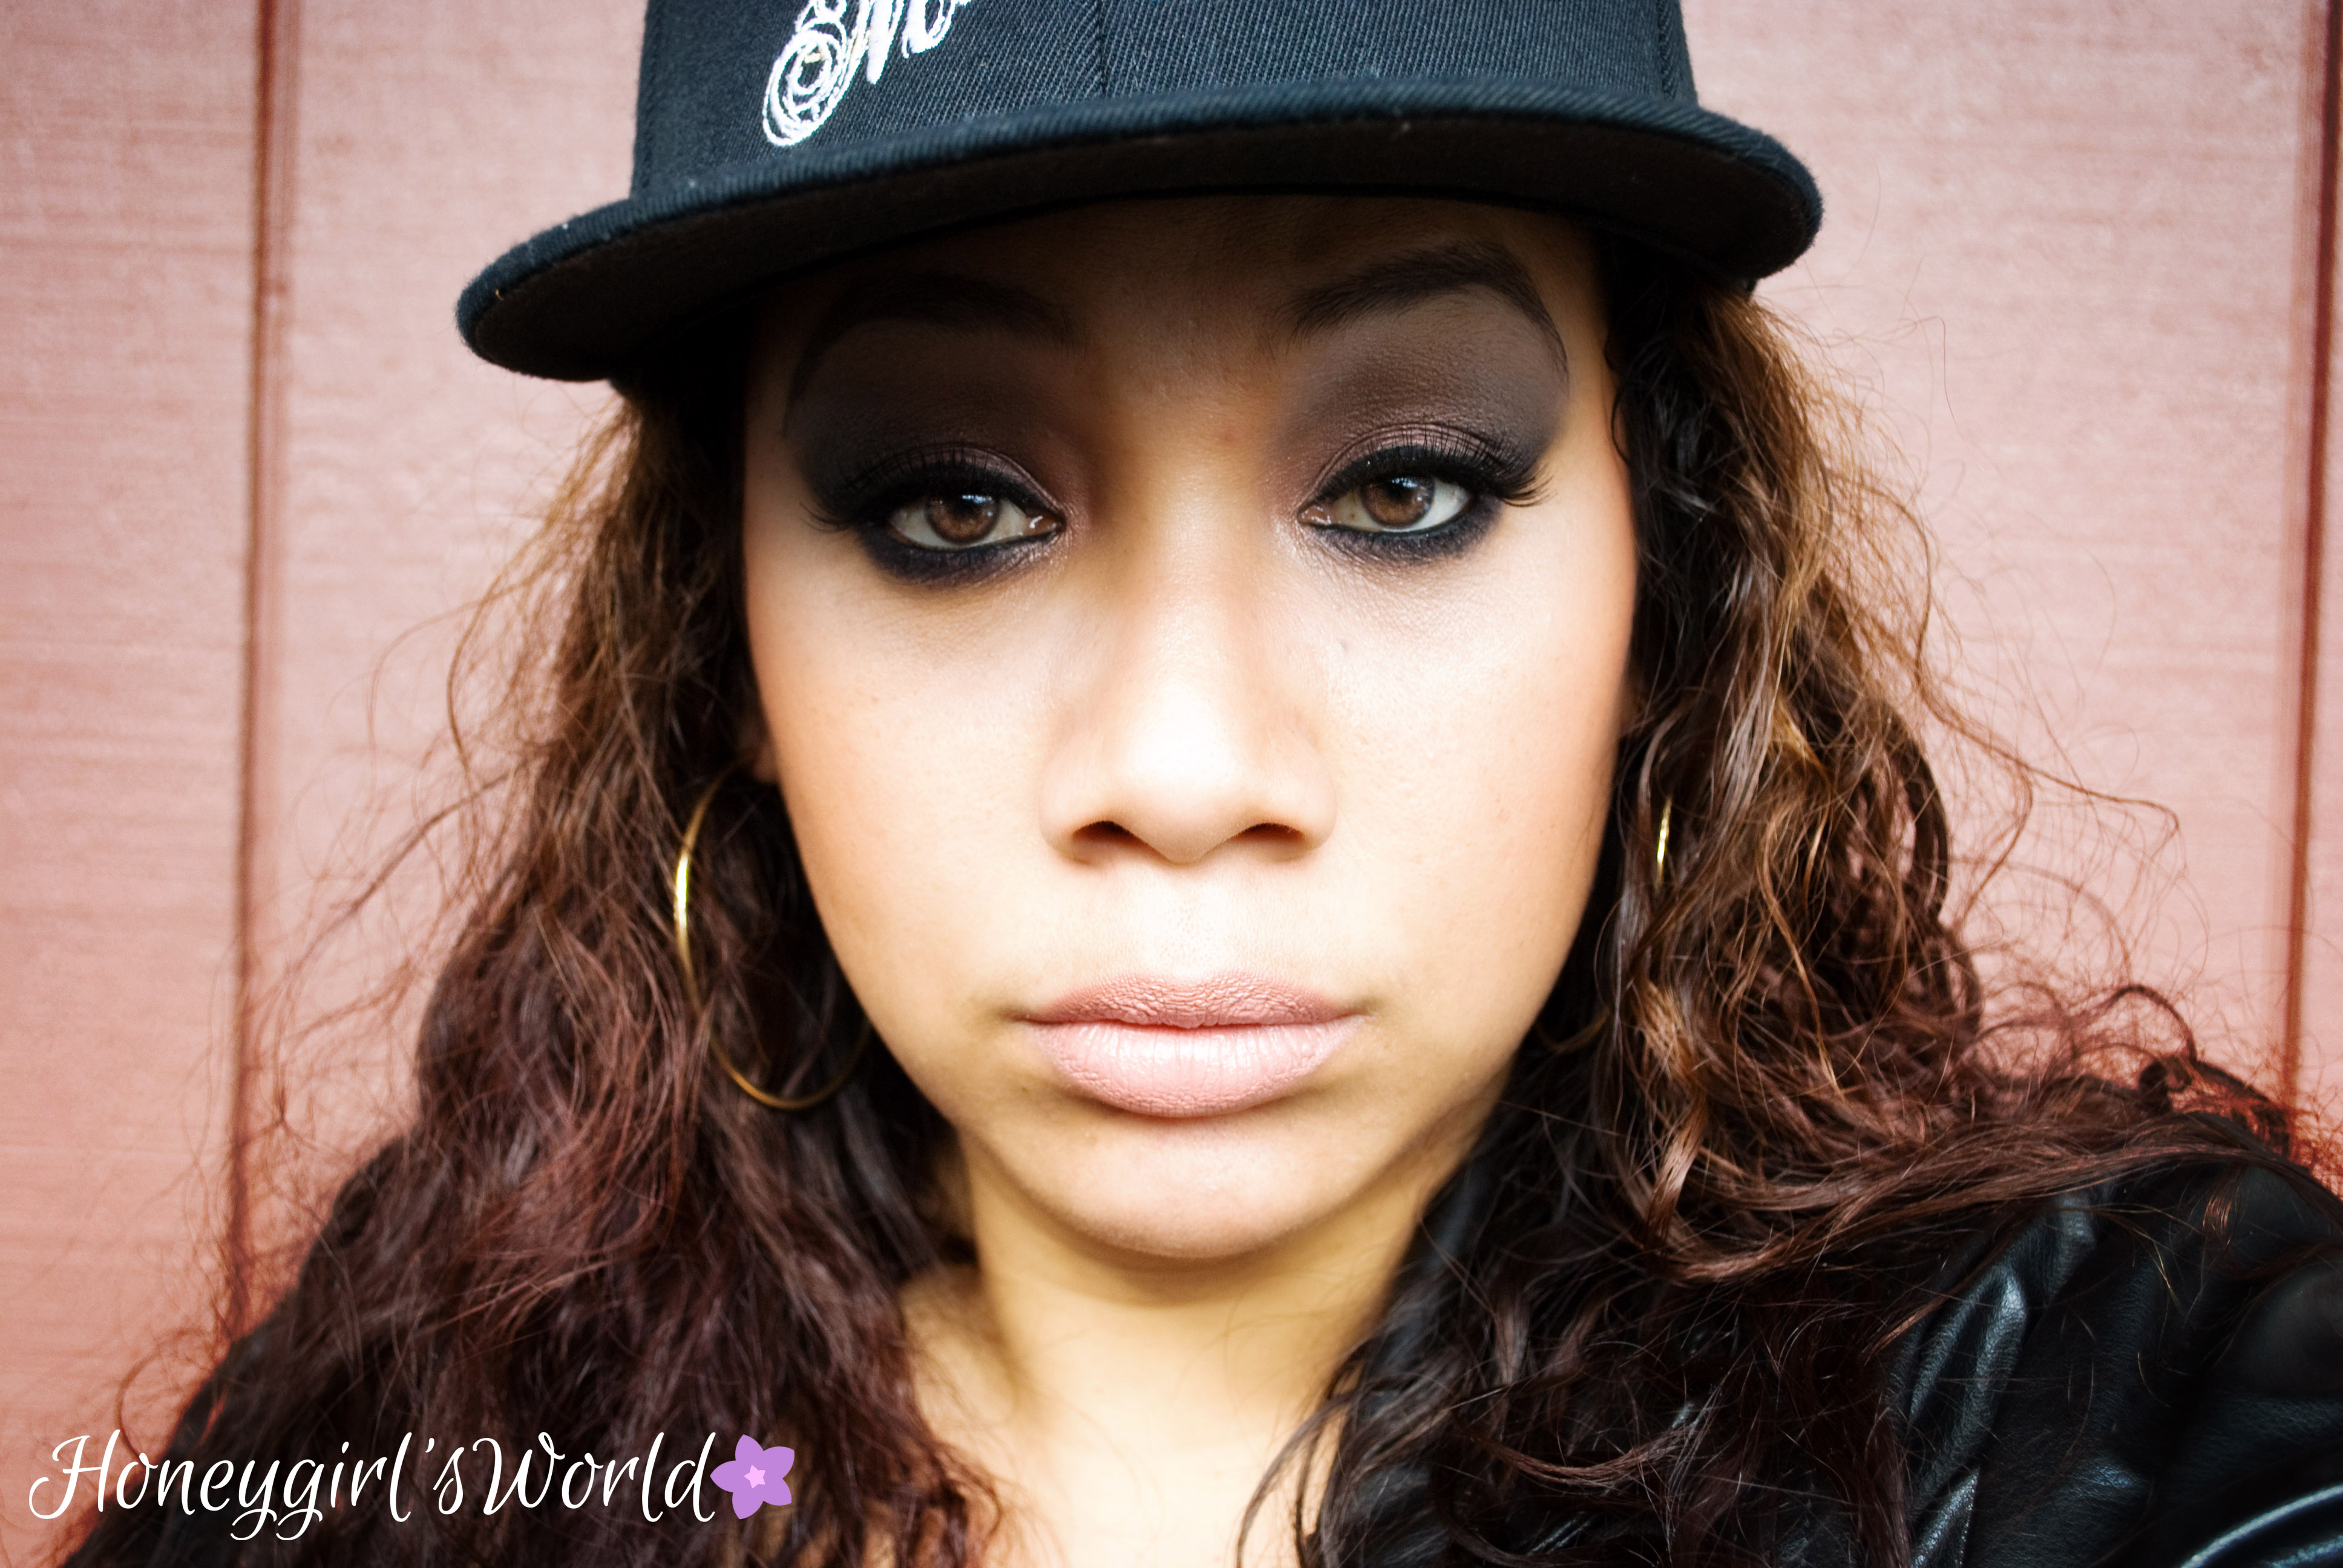
I have been a Jennifer Lopez fan for years… from way back in the day when she was a dancer on “In Living Color” (yes, I am that old… and no – you can’t laugh. lol)  Her style has always been one that I have admired and her makeup is always on point.  I have been on pins and needles wanting to do this look.  It was difficult to pull off because I chose the look in the video that you can’t see very well since it is covered under Jennifer’s hat, but I used her look as inspiration and added some extra color to it to create the look I have here.  She had sultry smoky eye that looked like it incorporated a taupe-silver shade.  Since I have been wanting to use my Urban Decay Naked 3 Palette in a tutorial – I chose to use a pink hue with a silver/taupe to create this look.  I am pretty happy with how it came out.

At the end of the day – even if I wanted to use her Makeup in the video as the base for my creation, I really wanted to concentrate on the message that the song portrayed.

Cause in the end, I’m still the SAME GIRL… I don’t owe nobody!

Jennifer Lopez Same Girl Makeup tutorial

Products used:

  • Eye Shadow Primer – Too Faced Shadow Insurance
  • Eye Shadow Base:  NYX Eyeshadow Base in Skintone
  • Eyeshadow transition shade: deep brown matte from Smashbox Full Exposure Palette
  • Eyeshadow Lid Shades: Urban Decay Naked 3 Palette (Liar on the inner half of the lid, Mugshot on the outer third of the lid, Blackheart smudged on the lower lash line and to deepen the crease and outer v, Strange used as the highlight and Trick used as the pop of color highlight in the inner corner)
  • Eyeshadow lid shades: TheBalm’s Nudetude Palette – Serious (matte black) used to deepen the outer v
  • Liner: Mally Evercolor Starlight Liner in Midnight – waterline/tightline and lower & upper lash line, Milani Liquif’eye Pencil liner in Black to intensify the liner look – applied to lower and upper lash line
  • Mascara: Perfekt Beauty Lash Perfection Gel applied to upper and lower lashes
  • Lashes: Kiss 01 False Lashes applied with Kiss Glue
  • Contour: Starlooks Cream Blush in Emphasize, NYC Sunny Bronzer and Laura Geller Bronze-n-Brighten in medium
  • Blush & Highlight: Milani Rose Blush in Warm Petals (powder blush) and Laura Geller Baked Highlighter Duo in French Vanilla/Golden Rose
  • Lips:  Milani Colorstatement liner in All Natural and Milani Colorstatement lipstick in Nude Creme

Just a quick note about foundation… I have been asked a few times about my foundation routine.  I haven’t used foundation in 2 years.  I have tried & used it a few times (maybe 3x) in the last 2 years as trials for companies – but I do not wear foundation or primer.  If I do use primer I use the following:  Laura Geller Spackle, Benefit Porefessional or I use my Mally Evercolor Pore Perfection compact to set my makeup.  However, I truly do not use face products like that often and it is rare.  I’ll be touching base on my skincare routine, etc. in the next month.  Stay tuned…

Jennifer Lopez Same Girl Makeup

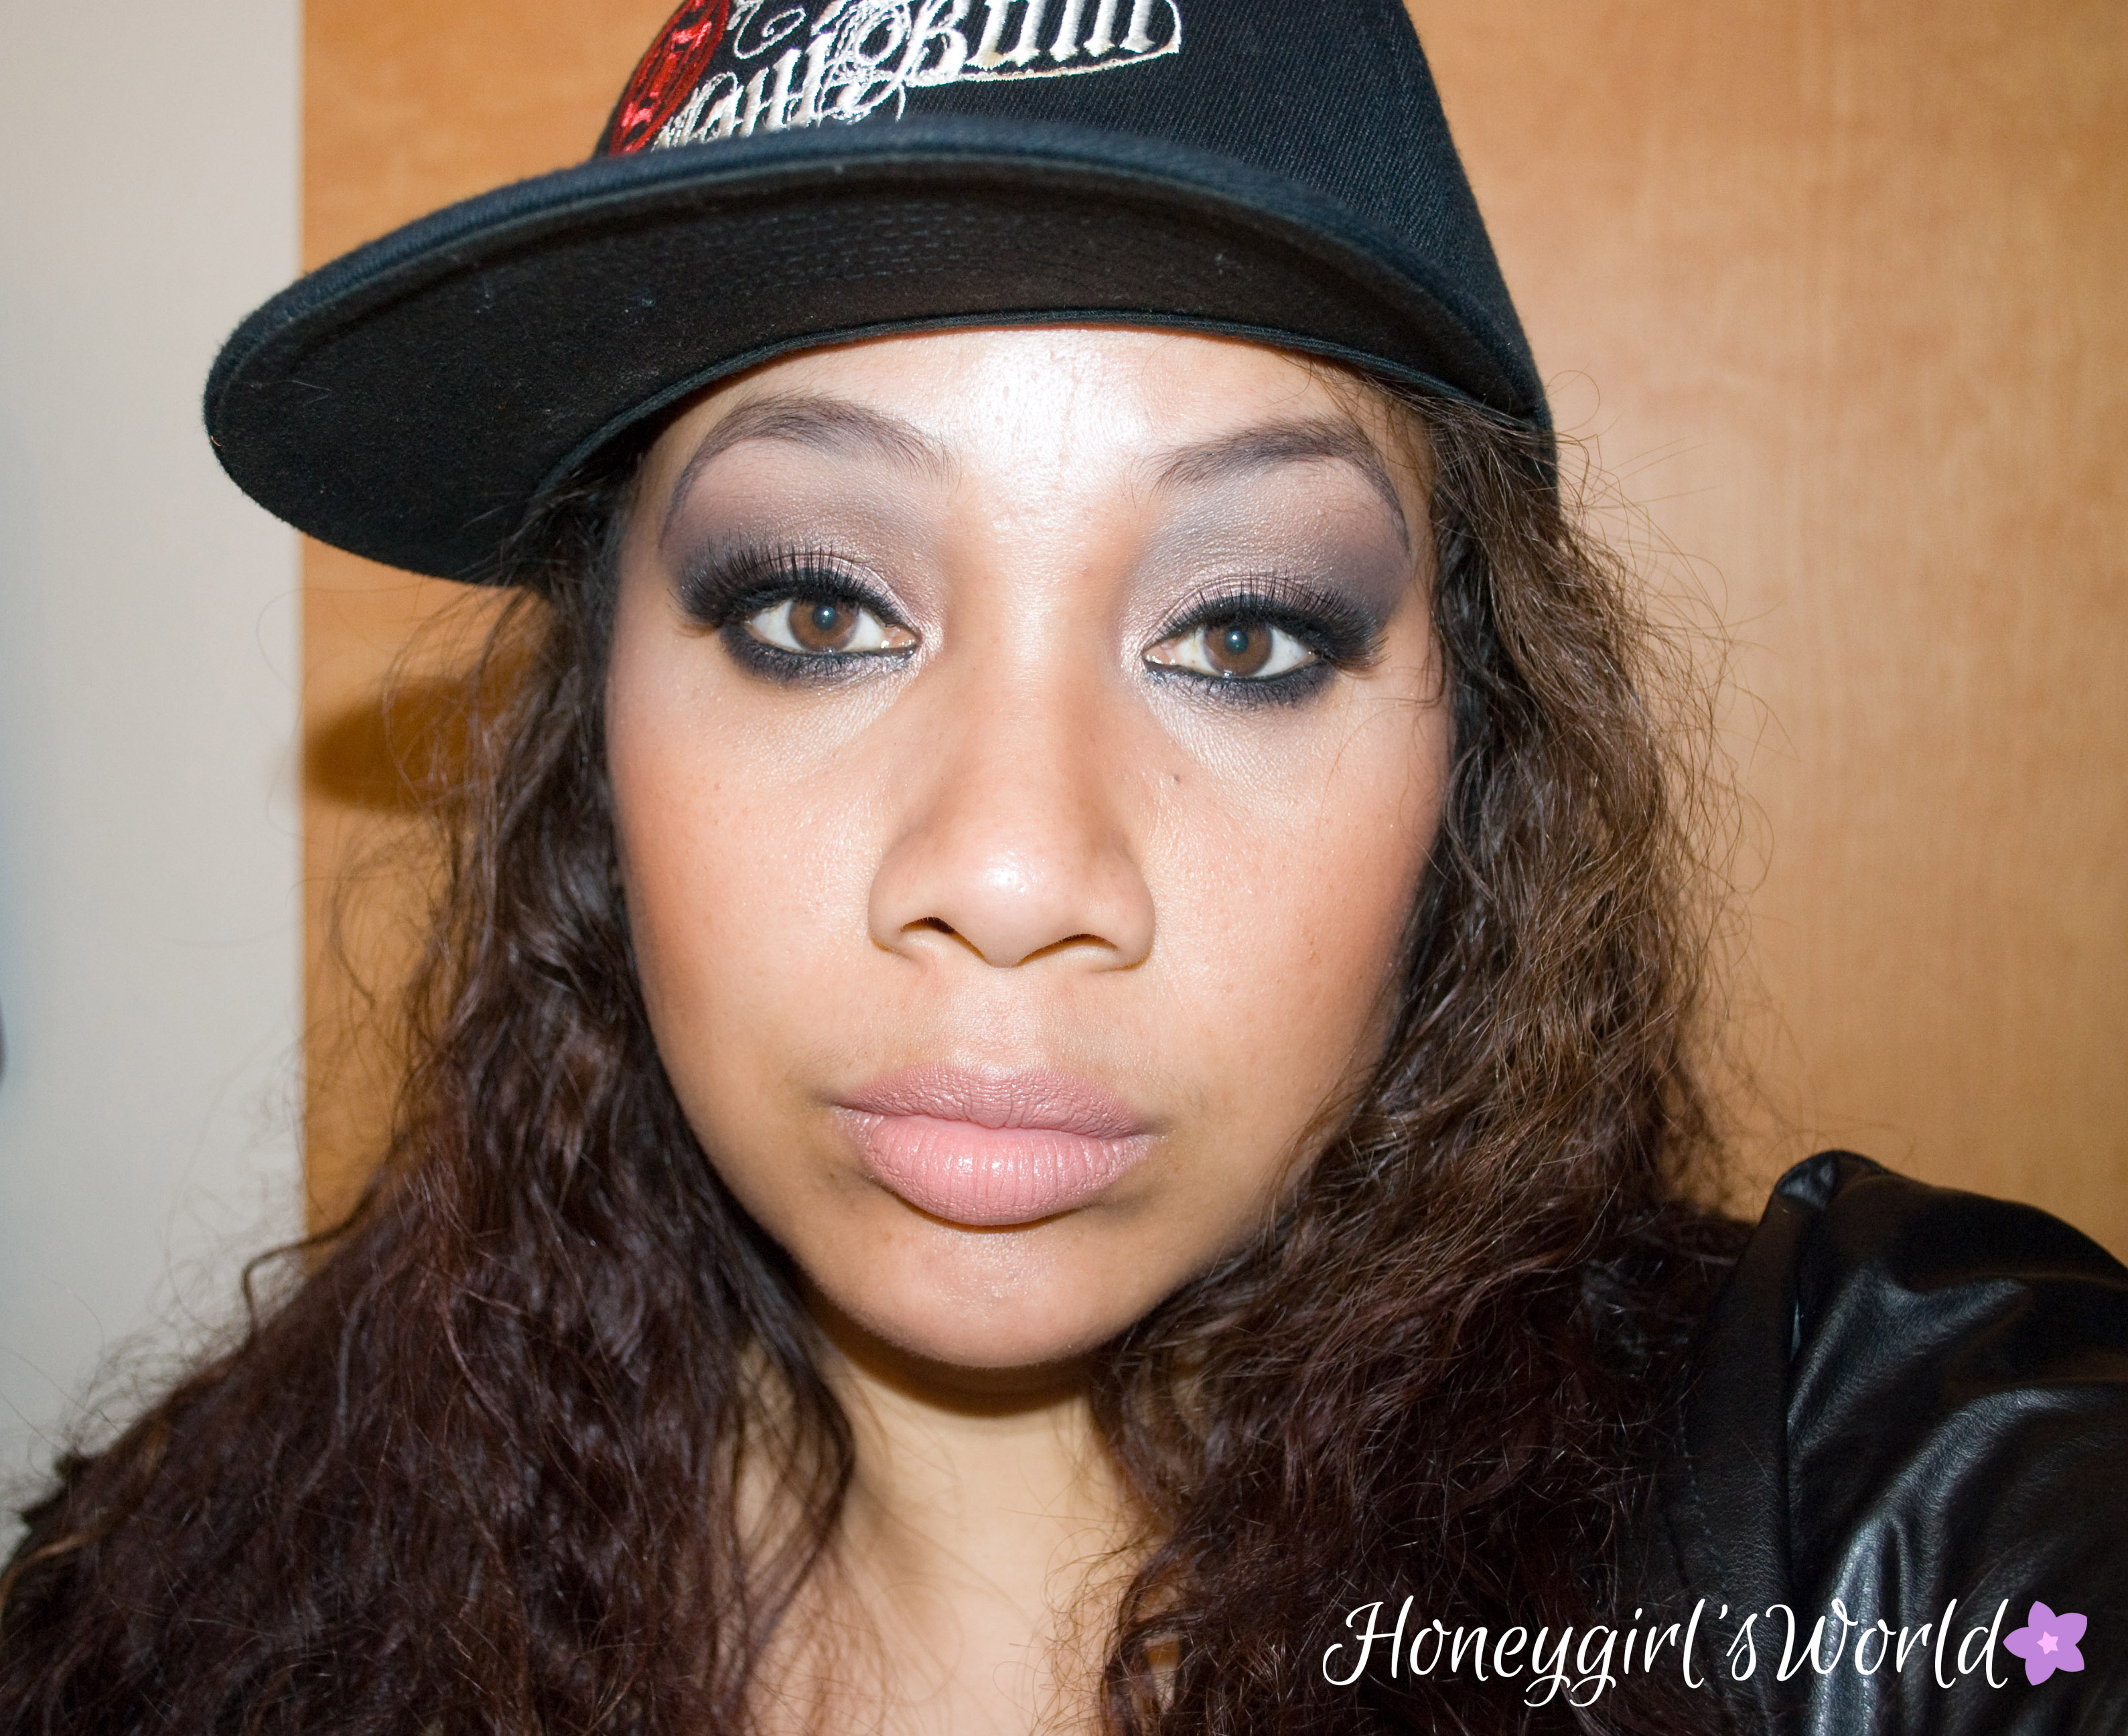
When I had this look in mind, I wanted to make sure to create a look that would mimic JLo’s perfect bronzed and contour makeup that is always done so effortlessly.  I also loved the fact that she wore a New York Yankees hat (we are Yankees fans in our house), since she is a girl from the Bronx.  Since I am from Hawaii, I wanted to do something similar and rock out a “Maui Built” hat since I am from Maui.  I thought it was a cute interpretation. 🙂

Don’t forget to check out my tutorial for the look here – subscribe, comment and like if you enjoyed it! 😀

Jennifer Lopez Same Girl Makeup Tutorial

I haven’t been taking very good eye photos lately – but it’s because I just stopped doing them the last few months and I have been focusing more on my overall look.  I’ll be sure to get good ones in future looks, so you can see the detail in the eye makeup.

Jennifer Lopez Same Girl Music Video Makeup


I took the above photo about 6 hours later and wanted to show this look as well.  This photo was taken with Flash (since it was at night).  Most of my photos are taken during the day in natural lighting.

Jennifer Lopez Same Girl Makeup

I hope you all enjoyed this look!  Thank you so much to all of you for your support and love over the last few years through my journey here on my blog and on YouTube.  So many changes have happened over the last year and all for the positive.  So many awesome blessings have also come my way.  This makeup post marks more than just a look I was inspired by in a music video – but it also reminds me of this journey that I am on.  I’ve met so many people – some were awesome and positive influences, others were generating negativity that I had to turn my back on, but everything happens for a reason and I learned that I am a better person because of the experiences I have had.  Thank you to all – I look forward to bringing you more looks, inspiration, my life I love and so much more!

I’ma keep on growing
Keep on shining
Just wanna do me
I had to thank God ’cause he chose me

– Jennifer Lopez, Same Girl


blog signature honey copy


Be My Valentine!

Be My Valentine - Valentine's Day Makeup Tutorial

Valentine’s Day is just a few short weeks away.  Most you know – I have a huge crush on anything that has to do with “being in love” and this Holiday is no exception.  Since I came up short with doing any Valentine’s Day tutorials last year (I only posted looks), I decided that it would be best to start early this year.  I am also entering this look into the Ipsy January Look Challenge since I was able to utilize products from the January Ipsy Bag.  This will also be the first tutorial using the Smashbox Full Exposure Palette (review coming soon).

So have you put any thought into what you are going to be doing this Valentine’s Day?  My husband will be working the night shift so my sons and I will be having a nice little dinner at home.  While I’ll miss my husband tremendously (I’m one of those gushy romantics), I know that everyday is Valentine’s Day for us and I’m lucky that he makes me feel special each and every day!

Be My Valentine - Valentine's Day Makeup Tutorial

Check out the list of products used as well as a video tutorial embedded below.  You can also watch the video directly on YouTube here.

Be My Valentine: Valentine's Day Makeup Tutorial feat Ipsy & Smashbox

Products used:

Face Moisturizer:  Nourish Organic Moisturizer from Ipsy

Eye shadow primer:  Too Faced Shadow Insurance

Eye shadow Base:  NYX Shadow Base in skin tone

Shadows:  Smashbox Full Exposure Palette

Pop of color:  Elizabeth Mott’s Smooth Shadow pencil in Penny (inner corners of the eye for pop of color & highlight) – Ipsy

Liner:  Jordana 12 Hour Made to Last pencil in Espresso Last (waterline/tightline), Jesse’s Girl Waterproof Liquid Liner (winged liner – upper lash line), Smashbox Stay Sharp & Shimmer On 3D Liner in 3D Sparks (lower lash line)

Mascara:  Elizabeth Mott It’s So Big Mascara layered with Benefit’s They’re Real Mascara

Lashes:  KISS Lashes in 01

Brows:  Cailyn Gelux Brow Gel in Cocoa (not showed on camera)

Lips:  Revo Walgreens Brand Sphere Lip Balm (watermelon), Milani Anti-Feathering Lip Liner (to keep the Mica Beauty from Feathering or moving), Mica Beauty Tinted Lip Balm in Natural (Ipsy), Milani Fuchsia Color Statement Lip Liner, Maybelline Color Sensational Lipstick in Brazen Berry, YSL (Yves Saint Laurent) Rouge Volumpte Shine in 19 – Fuchsia in Rage and topped with NYX’s Butter Gloss in Raspberry Tarte.

Hair:  Healthy Sexy Hair Soy Tri-Wheat Leave-in Conditioner

Be My Valentine - Valentine's Day Makeup Tutorial

I wanted this look to be very easy to recreate and wearable.  While the liner is a bit on the bold and dramatic side, this look will offer a bit of sexy and sultry but without all the effort.  You can surely add blush/bronzer if you wanted to – but I decided to opt out of that in this look.  I promise to have at least one more Valentine’s Day tutorial posted in the next two weeks, so be sure to keep an eye out for that.

If you are interested in signing up for Ipsy or learning more about it – click on my link here: http://www.ipsy.com/r/1o41  For just $10 a month you get a cosmetic bag filled with 4-5 products.  In the past I have gotten goodies from Urban Decay, Sexy Hair, NYX, and so much more.

Wishing you all a wonderful Valentine’s Day – whether you are Single or In-Love… make it an awesome day!

blog signature

I look forward to seeing elf promo emails and discounts in my email each day.  Some may think it’s a little too much, I however love the reminder that I can get a good deal that day.  Today’s sale was no exception but I was getting excited for this sale for a few days and thanks to a Blogging buddy of mine (BeautybyKrystal) and her swatches and photos, I had an idea of what I wanted to get today.hp_112513_50OffStudio_12pcBrushSet58682_21


So what’s so awesome about the sale… here are the details:

From today (11/25/13) to 11/27/13 you can get 50% off of ALL OF THE STUDIO LINE PRODUCTS.  You also receive a 12 pc Essential Brush set for free with your purchase of $30 or more and you also get FREE SHIPPING if your order is $35.00 or more.  And, what I love about ELF is that FREE SHIPPING even includes Hawaii… woohoo!

Now – those of you that have been following me a while know I’m a magazine subscription addict and some of my subscriptions in the past I have also gotten from qualifying orders with ELF.  So – this order also qualified for a FREE ALLURE Magazine Subscription (a full year – $15 value).  Any order that is $25 or more will also qualify for a free subscription.

Of course, I’m sure you all want to know what I ordered so I’ll give you a brief rundown.  I saved about $25.00 on my total order – Free shipping and all the freebies too.  I was able to pick up a few of the essential line tinted lip balms (super excited for that), a few Geometric Palettes (have had my eye on those since they came out), a few Studio line moisturizing lipsticks (the ones I really wanted sold out, so get your order in now) and a few nail polishes I have had my eyes on.  I’ll be sure to do a haul when all the goodies arrive.  Since I did choose Free Shipping, it may take a little while to come in… but so long as all my items are still sent, I’m a happy person.

Don’t forget… this sale only lasts till 11/27/13 so be sure to get your order in now.  Use code STUDIO50 at checkout to get your awesome discount. 

Happy Shopping!

{Informational Post / Not Sponsored}